Tayacan.dk
Created: 2024-02-22
Finishing up my jam game
The game that I started making for GitHub GameOff 2023 is not finished.
I did polish it up, build some better levels, and come up with a title, all in time for the jam deadline on December 1st. The title Symlink, and you can try the jam version of the game here. It has some issues, but it's playable, and the core mechanic works.
Changes since the last post
There are two main changes I made before submitting the game for the jam.
- I changed the visuals of the links. Now, when two boxes are linked, the panels on the side of the boxes glow in the same color as is associated with whatever link type was used.
- I created three new tutorial levels -- one for each type of link. Each level consists of three puzzles, that progressively teaches the mechanics.
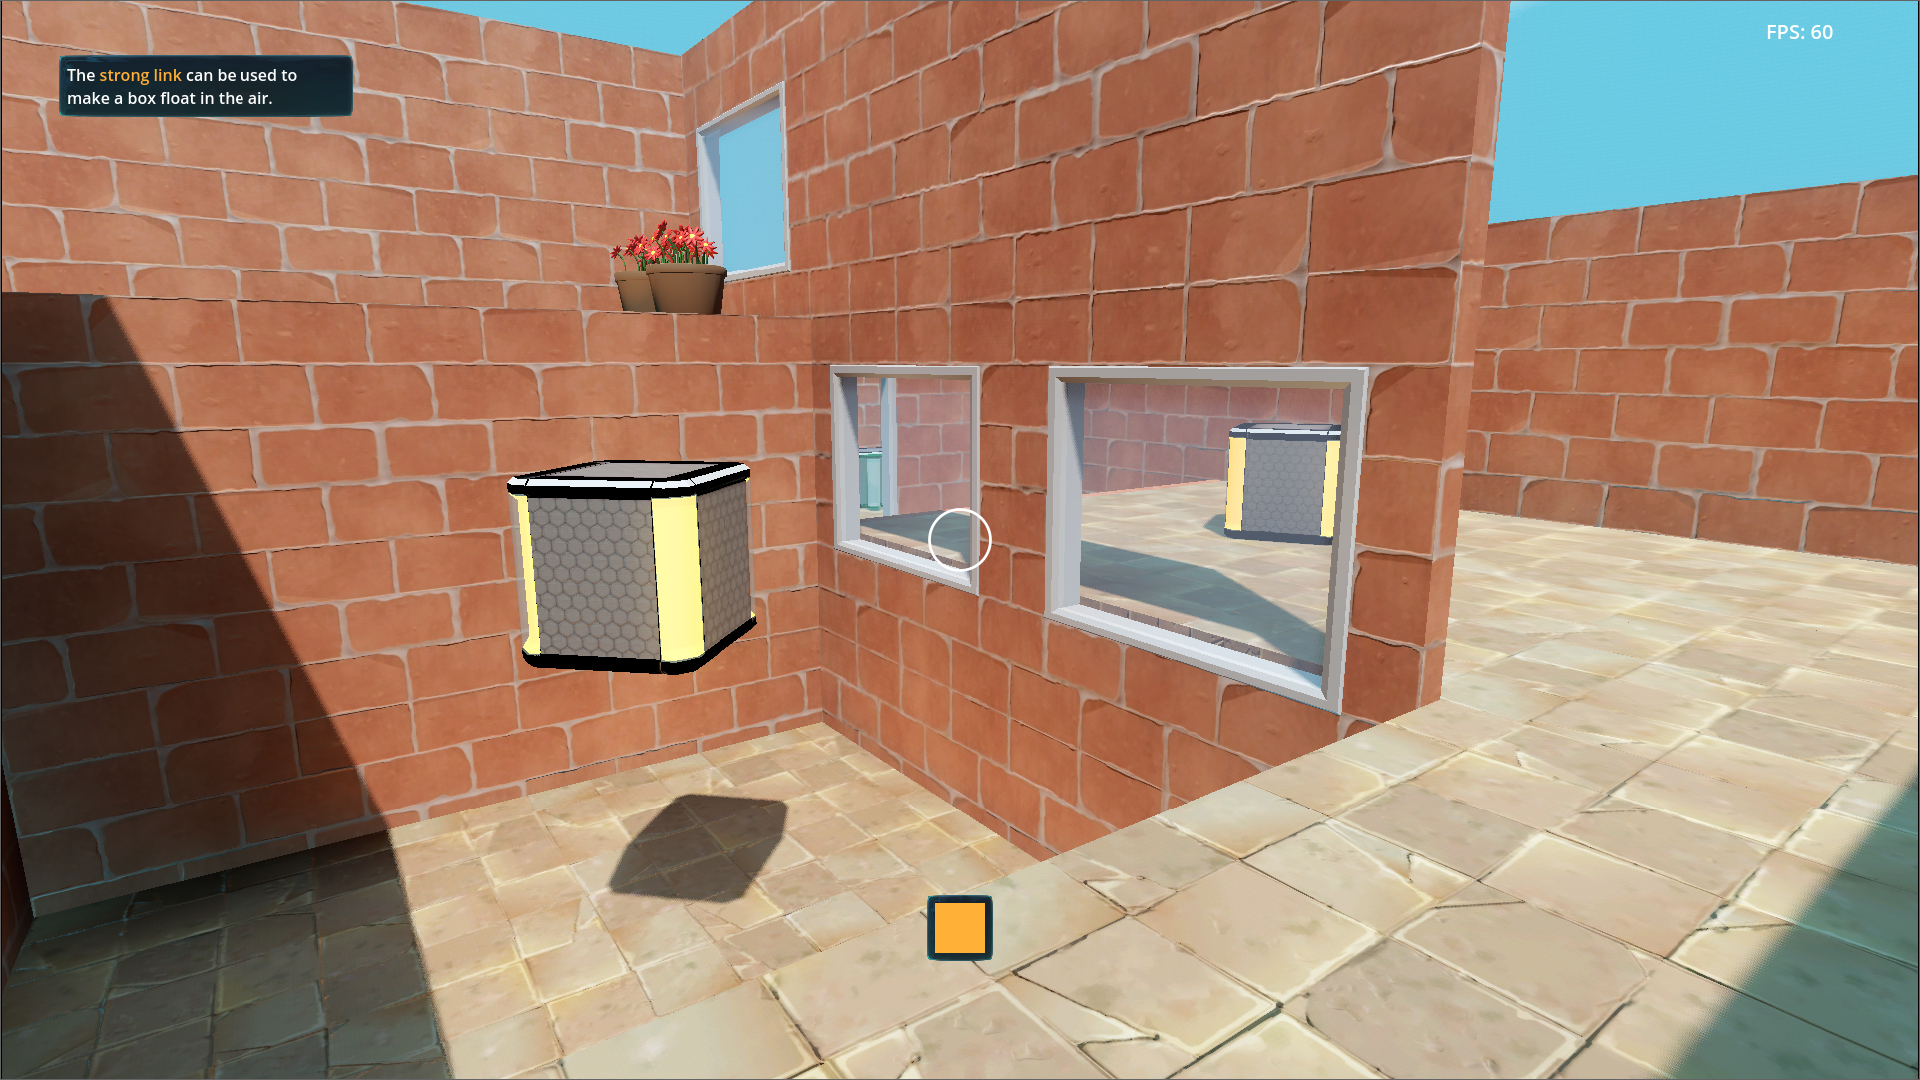
In order to help the players learn the game, I also added a simple tutorial system. While navigating the levels, text boxes will pop up in the top left corner of the screen, explaining the controls, or informing the player about something that a link can be used for (for example: to make a box float in the air).
I wanted to make more levels, but ran out of steam in the last week of November, and so decided to submit it with just the tutorial levels.
Future changes

I want to make levels that include multiple types of links, and also in some cases multiple links being active at the same time. In the jam version of the game, if you start creating a link while already having one active, the active one is removed. Changing the code to allow multiple simultaneous links was fairly simple, and I actually ended up removing more code than I added.
I also want to add controller support to the game. This is proving a little more tricky, though, and there are two reasons for that. One is that I need to duplicate all UI that has to do with the controls, to make a version with controller button prompts (or multiple versions, for different controllers). The game needs to dynamically switch between these UI versions, based on whatever device has most recently registered an input.
The other tricky bit is the camera rotation. Godot handles input via input actions: each action that a player can take has a name, and a list of associated buttons. For example, you could have a jump action, which is associated with the space key on the keyboard, as well as the A button on an xbox controller. Pressing either of those means jump. However, the one thing that is not handled this way, is mouse motion. Instead, this is handled by a callback function, which is called every time any input event happens. Check whether the event was a mouse motion event, and if it was, we rotate the camera.
This means that camera rotation needs to be handled in two ways: Via the callback function that checks for mouse motion, but also via an input action associated with the right joystick on a controller. Add into the equation that camera rotation in Symlink is different depending on whether or not the player is currently using the grab action to move a box, and, well, my spaghetti code from the jam simply isn't all that easy to extend. I'll most likely need to redo the way I handle camera rotation completely.
Created: 2023-11-16
Jam Time: Halfway through a month-long game jam
November is my least favorite month – it always seems to drag on forever, gray and wet. To make it a little more tolerable, I like to have some kind of project to work on, so when I heard that GitHub is hosting a game jam that lasts the whole month, I pretty much immediately wanted to do it. I also decided that this would be a perfect opportunity to try making a 3D game in Godot, to see if the engine would hold up for both my hobby projects and for teaching purposes.
I initially thought I would be doing the jam solo, and I mostly am, but one of my friends does occasionally do a little coding, and my boyfriend has made a piece of music for the game.
DevLog: The experience so far
We're about halfway through the jam now – in my timezone, the theme was revealed late in the evening on November 1st, and the deadline is late evening Decemper 1st. In this post, I want to show some video clips of how the game has changed over the first two weeks of development. There are a lot of video clips from the first few days, and then a few longer ones from the next week and a half. You can also skip down to the current version of the game.
November 3rd, midday: There are boxes, and they can be pushed around.
The theme for the jam is scale, to be interpreted as a verb or a noun and in any of its many meanings. The idea we had, on November 2nd, was to make a puzzle game where two objects can be linked together in such a way that moving one object also causes the other to move. We came up with the idea of different link types – one type of link would make the objects move the same way, another would make them move in opposite directions. How does this tie into the theme? Well, the scale of the objects matters. Reverse-linking a light and a heavy box and then pushing the heavy box off a ledge will make the light box fly, but not the other way around.
November 3rd, early afternoon: Rudimentary link — but the movement is a little funky.
The first day of proper development – November 3rd – was spent making boxes that could be pushed around, and implementing a very rudimentary linking mechanic. By the end of the day, I had the ability to push one box and have another follow it.
November 3rd, late afternoon: It sort of works!
At this point, all of the graphics are just built-in Godot cubes and CSG meshes. The CSG system built into Godot was perfect for prototyping and early level design, as it let us quickly build some simple shapes, and then add collision to them with a single click.
November 4th, afternoon: The first simple puzzle.
On November 4th, I worked out some more details around the link mechanics, including how links would interact with gravity. I decided that there would be two main type of links: Static links, where the boxes only move if both have free space to move into, meaning that you can use it to make a box float, and non-static links, where a box will fall to the ground even if its partner box is standing solidly on the ground, and thus cannot move downwards with it. Later in the day I also added the ability to switch between link types, using colored indicators to show which link type was currently selected.
November 4th, evening: Link selection and colored indicators.
The next big step was figuring out how to make the links work with boxes of different sizes. I got this working a few days later, on November 7th, along with a reverse-direction linked that allowed the player to get a box to float far above the ground.
November 7th: A box hovers menacingly in the air.
With the basic mechanics in place, I started working on the framework for the puzzles — levels, menus, and such. By November 9th, I had two simple tutorial levels, some basic menus, and the ability to continue playing from the last seen puzzle. I did not, however, have a title for my game, so the main menu just has the heading Very Cool Title.
November 9th: The game is taking shape.
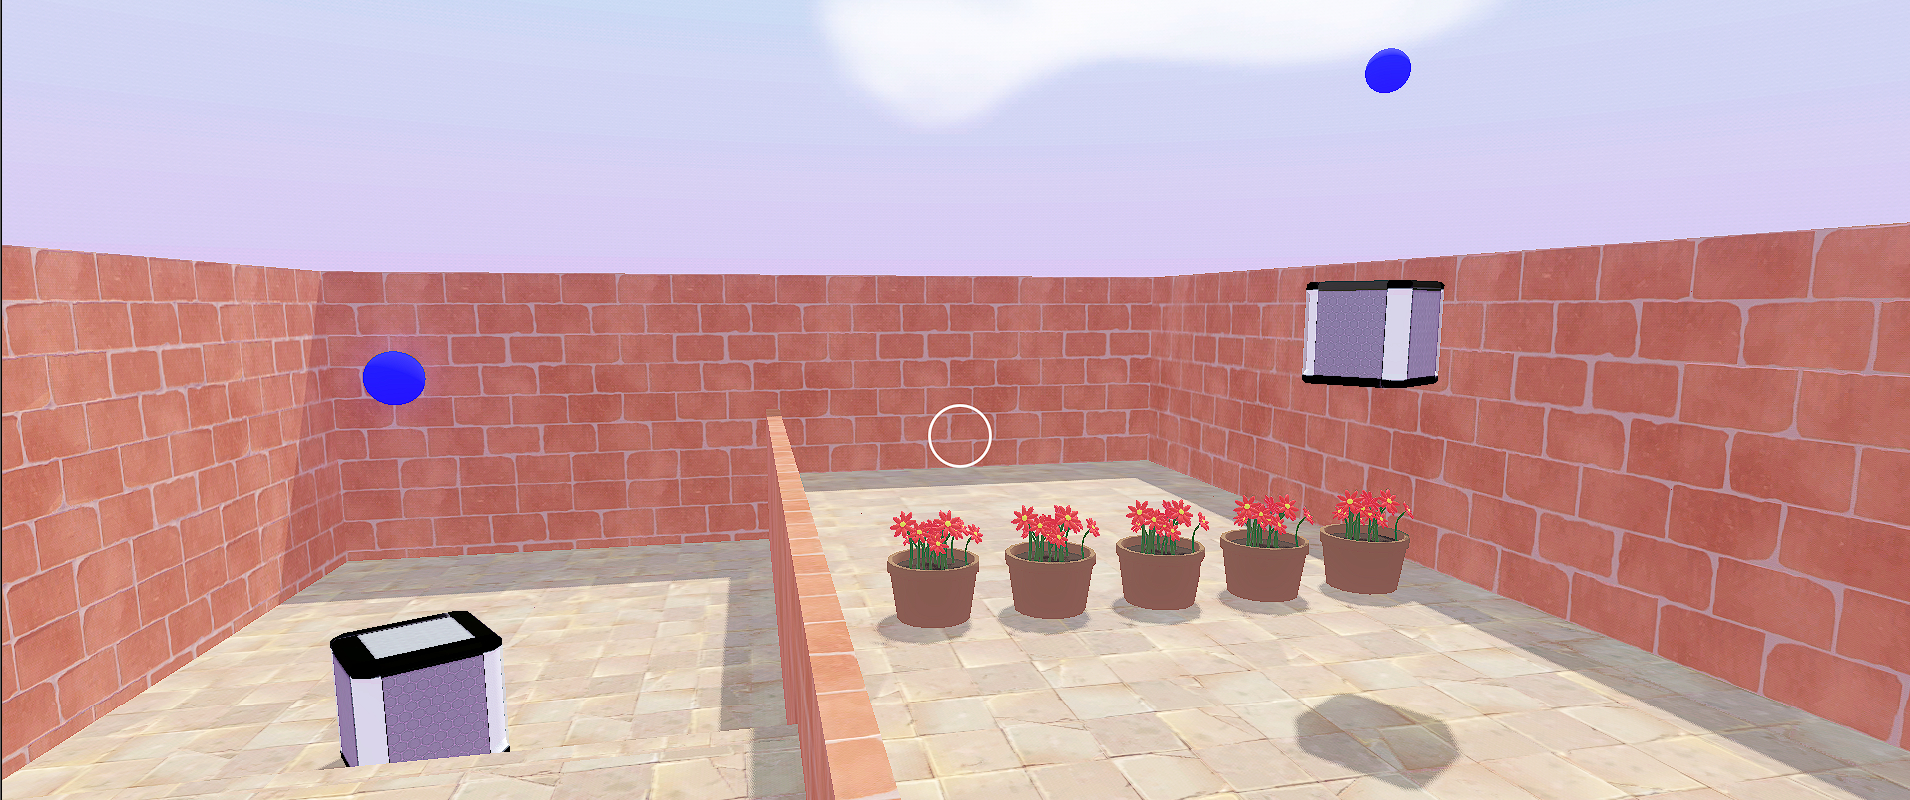
Since then, I've been working on two areas: I've created some 3D models for the game and textured them using various Creative Commons resources. I've also been working on getting the boxes out of the player's face. Pushing the boxes around was annoying because you couldn't really see what was happening to the other box in the link. Instead, I've added a grab mechanic that lets you drag the box around with the mouse.
The game in its current state can be seen in the final video below. I think it's coming along nicely — but it still doesn't have a name.
November 16th: The game in its current state.
What's next?
I have another two weeks to work on this game before the jam deadline on December 1st. Here are some of the major things I intend to add or change:
- The little orb indicators are gonna disappear in favor of making the side panels on the boxes glow in colors corresponding to the active link.
- Music and sound effects will be added.
- I'll need to make more levels – the ones that are in the game right now are just tutorial levels.
- I might make mechanics that involve rotating the boxes (including links that affect rotation).
Those are the main ideas for now, but I am making this up as I go along, so who knows if I'll come up with some new direction during the latter half of the jam? Either way, I'll probably make another post once the jam is over, showing the final version of the game.
Created: 2023-10-07
Making pretty desktop backgrounds with Blender Geometry Nodes
One of my hobbies is making 3D models in Blender, a free and open source program. Until now, I've mostly been making low-poly models, sometimes with animations, for the purpose of putting them in video games. As a consequence of this focus, I've only explored a fraction of what Blender can do.
I've had to take a couple of weeks off work due to a really annoying throat infection, and I've been spending some of that time learning some new tricks in Blender. Mainly, I've been curious about Geometry Nodes for a while, and in the course of learning about them, I've also picked up a bit of knowledge about Shader Nodes and rendering. That is to say, rather than exporting my models and using them in a game engine, limited to real-time rendering, I've been letting Blender chew on them for anywhere from 15 minutes to an hour in order to spit out a single pretty image.
So I guess I'm making myself some desktop backgrounds.

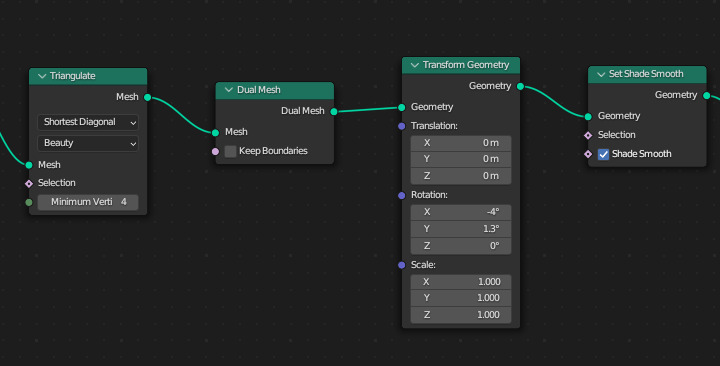
Geometry Nodes is essentially a (visual) programming language for 3D geometry. A program, or Node Tree, consists of connected node, each which takes a number of inputs and produce a number of outputs. Output from one node becomes input for some other node. For example, the Transform Geometry node takes some geometry as input, along with vectors describing translation, rotation, and scaling, and it outputs some geometry, which it produces by applying – for example – the input rotation to the input geometry. Here's an example of such a node:
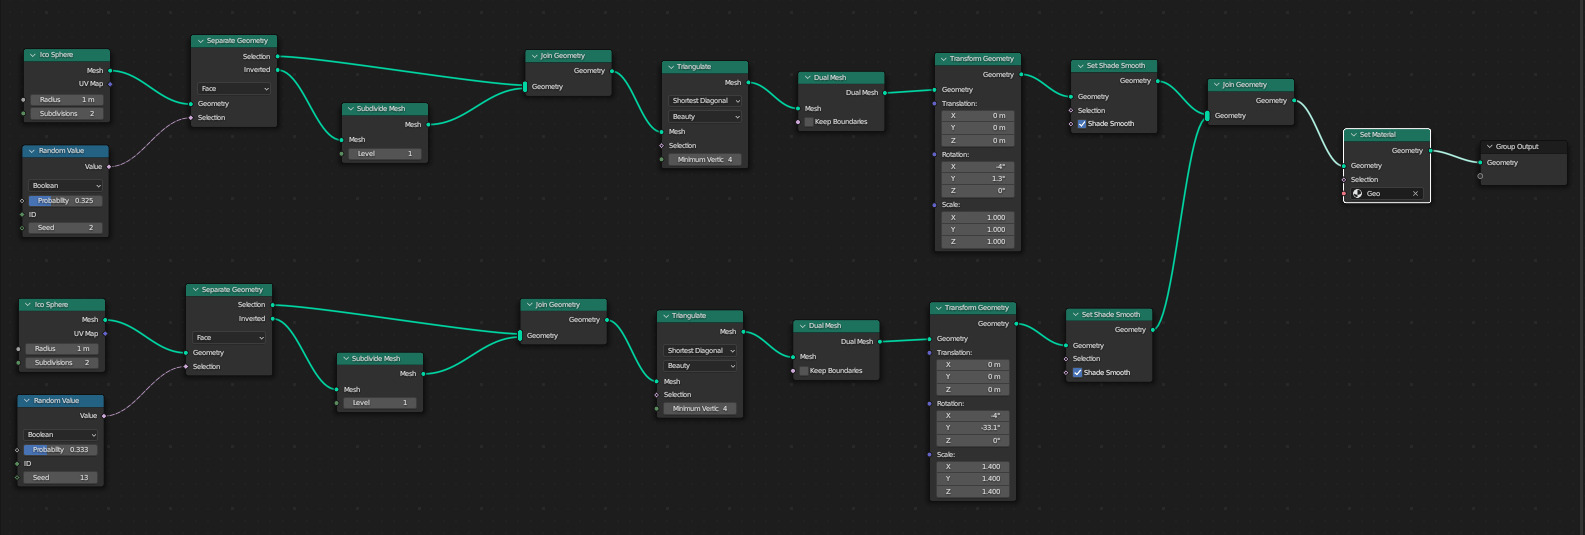
These Node Trees can become pretty big and complex — here's the full tree that the above example is taken from, and that's a pretty simple one:
What we get out of dealing with this complexity is geometry that is configurable. Anytime we want to tweak something, we can come back to any node in the tree and change its settings, connect it up differently, or replace it with something else. With ordinary modeling, if you want to go back and change something you did a while ago, you have to undo back to that point and then redo everything, if your undo history is even long enough. With a non-destructive workflow, such as Geometry Nodes, most of your changes to the geometry are in the node tree.
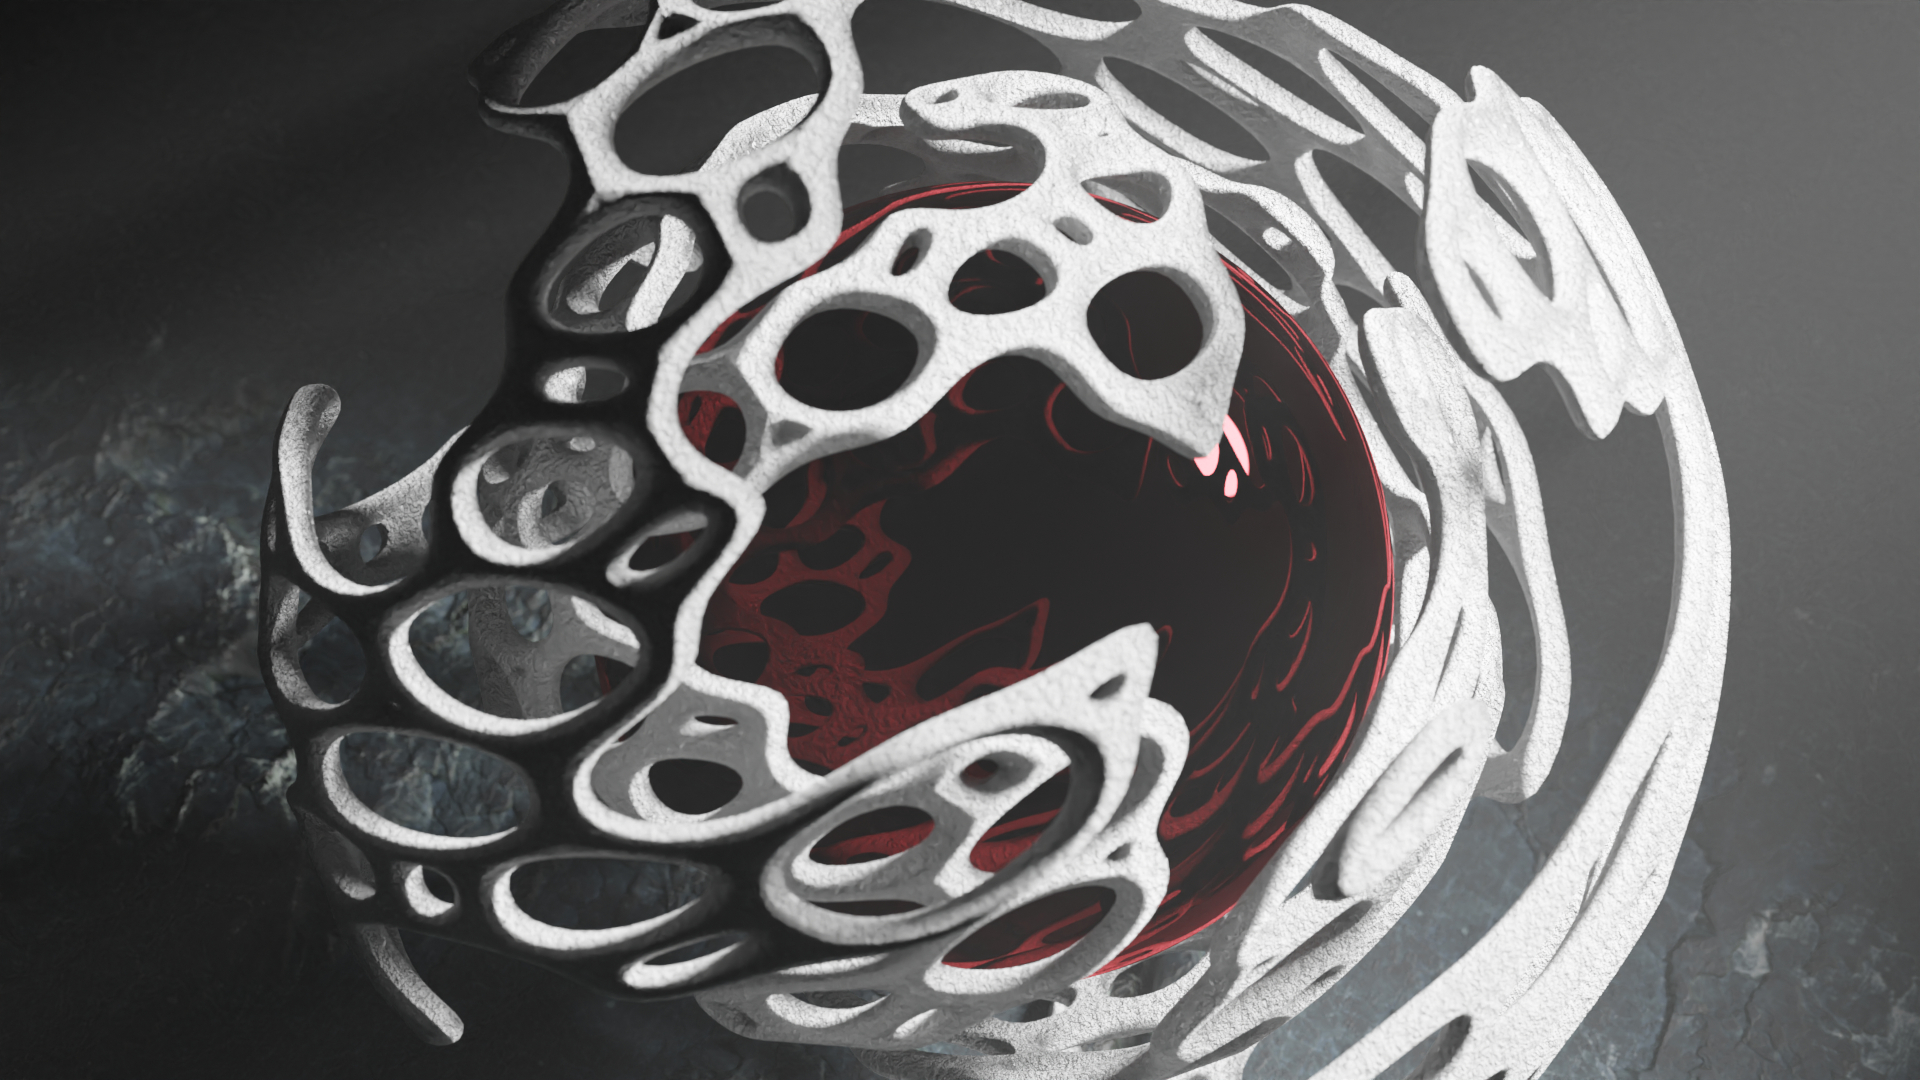
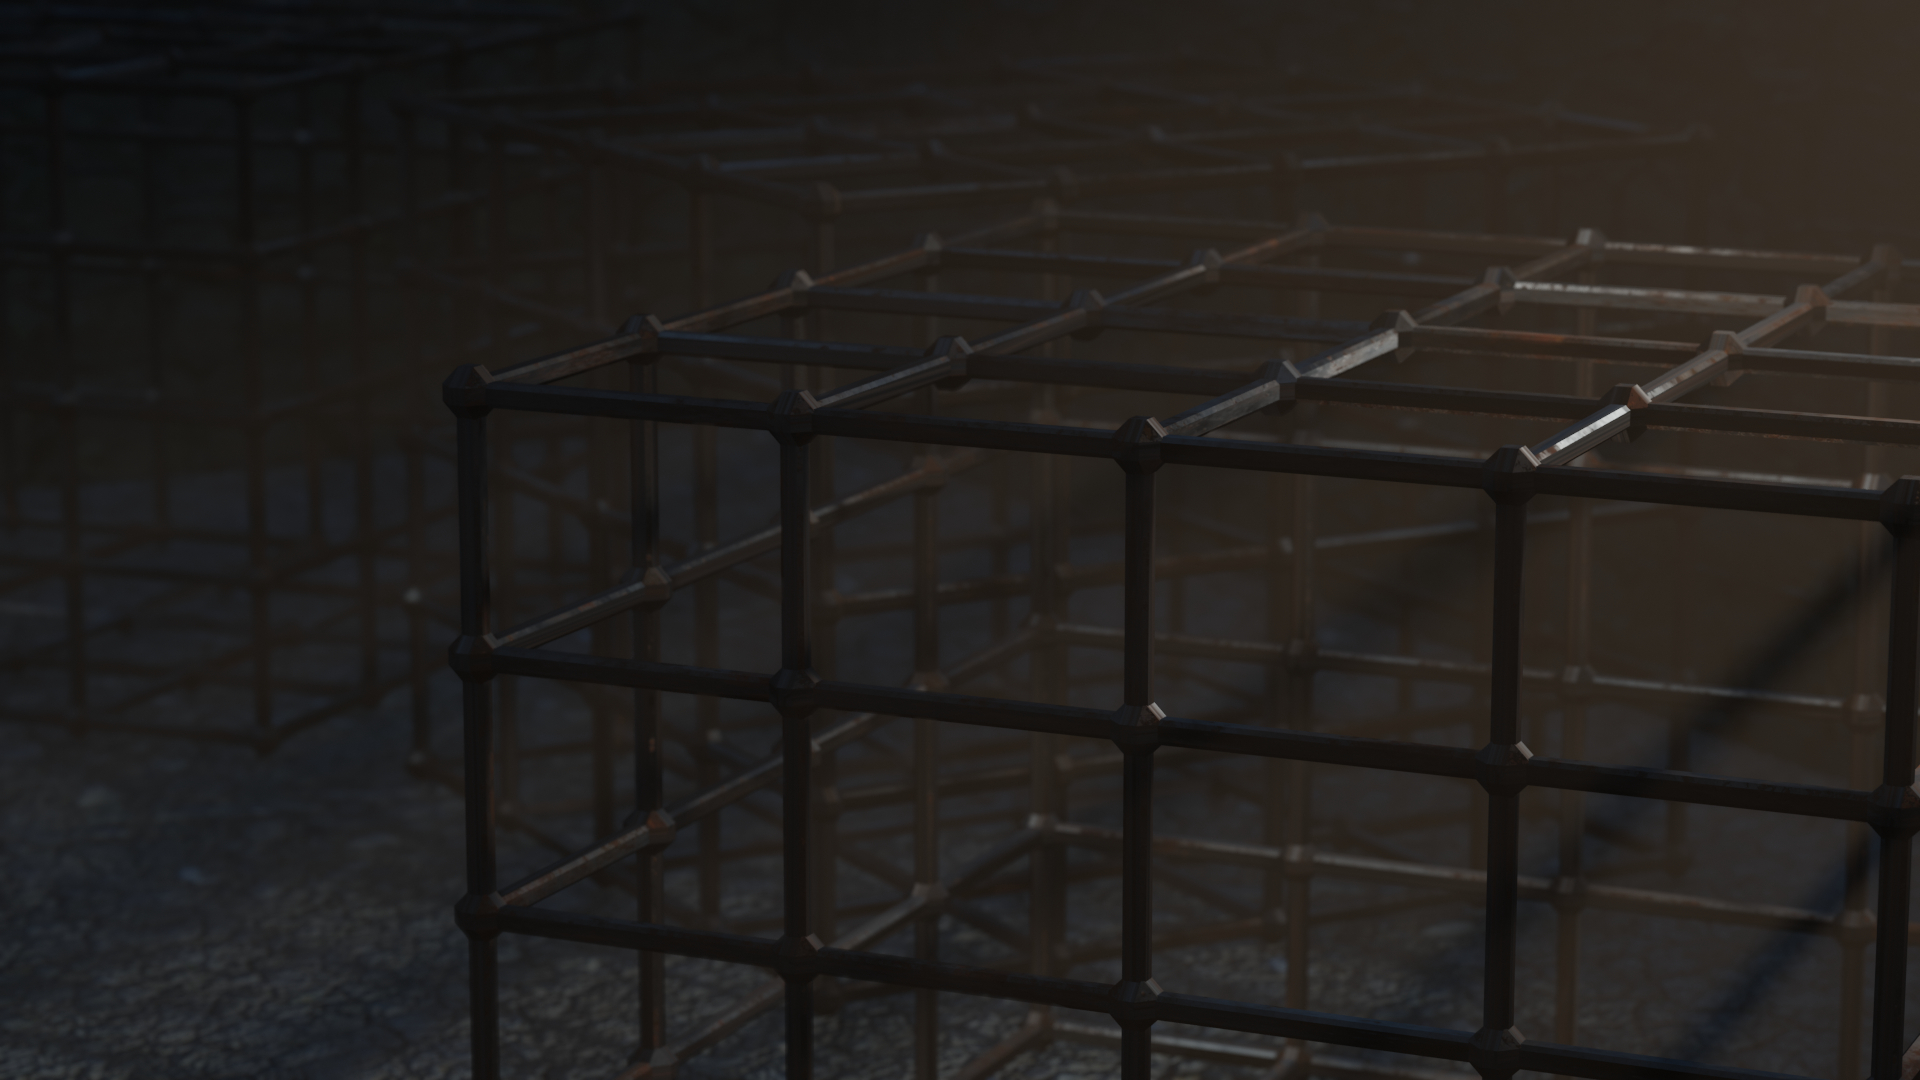
Geometry nodes can't do everything — I quickly found out that there's no way to do a loop cut (a very common operation when modeling) in Geometry Nodes — but it can do a lot. The cage in the image below is made with Geometry Nodes, and uses a rusty metal texture set downloaded from AmbientCG. However, when applying textures to a model, we need some way to tell the program which parts of the (flat, two-dimensional) texture should be applied to which part of the three-dimentional object.
Normally, this is done by manually UV unwrapping the object — essentially, cutting it up and unfolding it as if it was made of paper, and then using that to map the texture onto the object. With procedurally generated geometry, there's no way to manually tell Blender how to do the unfolding. Fortunately, Geometry Nodes has a UV unwrap node, which takes as input a selection of edges, marking where it's allowed to cut the object in order to unfold it.
I think this post is long enough, and I'm at risk of trying to explain how these images are made in more detail than I intended. Suffice it to say that it's a lot of fun. I'll leave you with the full version of the header image — do feel free to use it as a desktop background.